Why Your Smart Home Is Leaking Data to Foreign Cloud Servers
A forensic look at smart plugs, IP cameras, and local network isolation.
You bought that budget smart plug or Wi-Fi security camera because it cost twelve bucks and promised seamless app control from anywhere on Earth. What the box neglected to mention was the steady stream of local telemetry packets phoning home to overseas servers every single time you flick a switch.
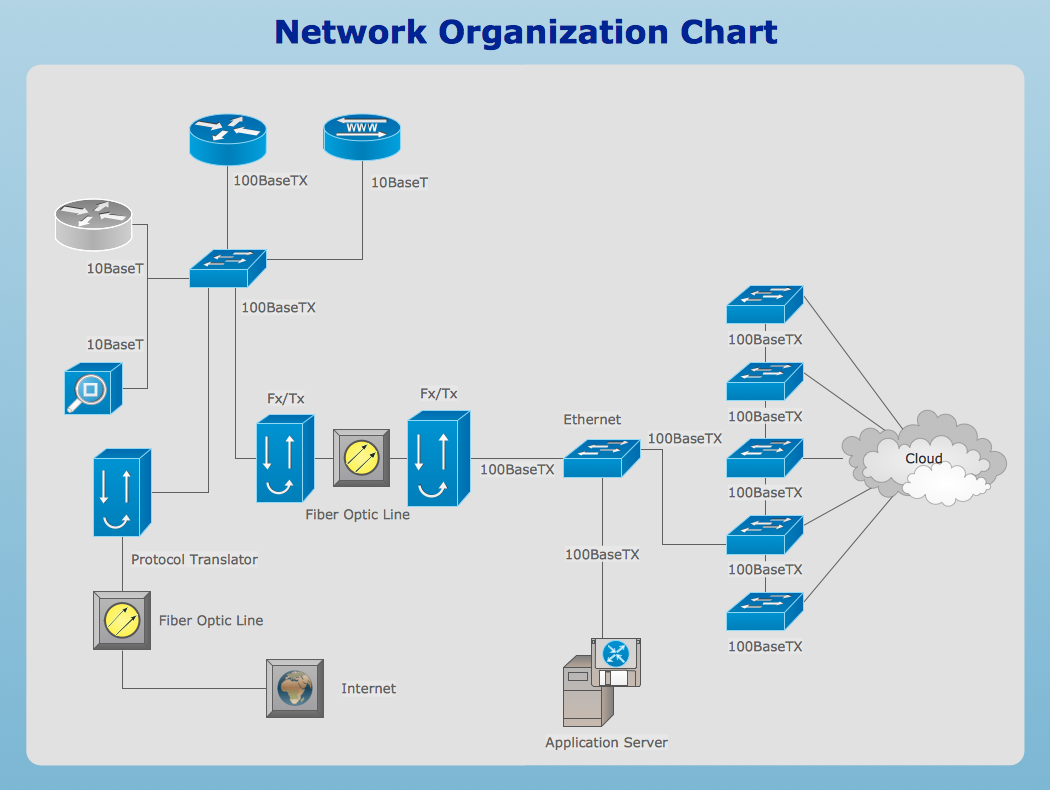
We are going to audit your home network, isolate your Internet of Things gear behind a dedicated Virtual Local Area Network (VLAN), and block unwanted WAN traffic without breaking local automation speed.
TP-Link Archer AX50 Wi-Fi 6 Router

Consumer routers make it ridiculously easy to set up guest networks, but true device isolation requires setting up custom subnets and strict firewall rules. Most budget access points lump your trusted laptops and your sketchy smart bulbs onto the exact same broadcast domain.
When a compromised firmware binary on a cheap thermostat tries to scan your local subnet, a flat network lets it see your NAS, your desktop, and your phone instantly. Creating a segregated VLAN stops that lateral movement cold.
Raspberry Pi 4 Model B

Running local DNS sinkholes like Pi-hole or AdGuard Home gives you X-ray vision into what your smart home devices are actually requesting behind your back. You will see thousands of DNS query logs hitting obscure domains every hour.
Blocking these telemetry domains at the DNS level often breaks cheap cloud-dependent gadgets, which is why network-layer firewall drops combined with local-only Home Assistant integrations are the ultimate fix.
Wyze Cam v3 Security Camera

Cheap indoor cameras are notorious offenders when it comes to constant cloud connectivity. Even if you turn off motion alerts, the camera maintains persistent heartbeat connections to remote AWS endpoints to punch through carrier-grade NAT.
Flashing alternative open firmware like RTSP or isolating the camera stream locally via TinyCam or Frigate NVR keeps your video feeds inside your four walls where they belong.
How to Isolate Your Smart Home Devices Step-by-Step
What You Need Before Starting: A router supporting VLANs (like an AsusRT, pfSense, or UniFi setup), a computer with admin router access, and a list of your IoT devices.
- Step 1: Log into your router admin panel by typing your gateway IP address (usually 192.168.1.1 or 192.168.0.1) into your browser address bar.
- Step 2: Navigate to the LAN or VLAN settings menu and click on Add New VLAN or Guest Network with isolated client settings enabled.
- Step 3: Assign a unique subnet to this new IoT VLAN (for example, 192.168.50.1/24) and set up a dedicated Wi-Fi SSID with WPA3 security.
- Step 4: Go to the Firewall Rules or Access Control tab and create a rule blocking traffic originating from the IoT VLAN destined for your primary LAN subnet.
- Step 5: Reconnect all your smart plugs, bulbs, and cameras to the new IoT SSID and test local app responsiveness to ensure isolation is working without breaking functionality.
Troubleshooting: What If Something Goes Wrong?
PROBLEM 1: Smart phone app can no longer discover or control smart bulbs after moving them to the new isolated VLAN.
THE FIX: Enable mDNS (Multicast DNS) repeater or IGMP snooping on your router so local broadcast packets can cross subnet boundaries safely.
PROBLEM 2: Certain budget smart cameras refuse to stream video once external WAN access is blocked entirely.
THE FIX: Allow outgoing TCP port 8883 and 443 specifically for that device MAC address while blocking all other external IPs, or flash custom local RTSP firmware.
PROBLEM 3: Smart home hub loses connection to voice assistants like Alexa or Google Home.
THE FIX: Create specific firewall exception rules allowing established and related return traffic from the smart assistant cloud servers back into your local ecosystem.
Original step-by-step tech guide & analysis by KejaniTech. Tried this guide or ran into a question? Drop a comment below!


Comments
Post a Comment