Why Your PCIe 5.0 SSD Is Throttling to Gen 3 Speeds (And How to Fix It)
Upgrading to a blazing-fast drive is pointless if your motherboard and CPU lane allocation are silently choking your bandwidth.

You just dropped serious money on a brand-new PCIe 5.0 solid-state drive, slotting it into your rig expecting lightning-fast file transfers and instantaneous game loads. Then you run a disk benchmark and watch in absolute horror as your read speeds flatline right around 3,500 MB/s—the exact speed of an older Gen 3 drive.
Before you pack it up for a return, your hardware isn't broken. You've likely fallen victim to a sneaky lane-sharing trap or a brutal thermal throttle wall that catches builders off guard every single day.
Crucial T700 PCIe 5.0 NVMe SSD

When PCIe 5.0 drives first hit the market, everyone focused on the raw numbers—up to 14,000 MB/s read speeds. But these drives demand massive bandwidth from your CPU and chipset. If your processor or motherboard lacks dedicated PCIe 5.0 lanes, or if you occupy a slot that shares lanes with your primary graphics card, the system automatically downclocks the interface to keep everything stable.
Furthermore, these controllers run exceptionally hot. If the drive hits 80°C, internal thermal limits kick in immediately, slashing performance to protect the NAND flash from permanent physical damage.
AMD Ryzen 7 7800X3D Processor
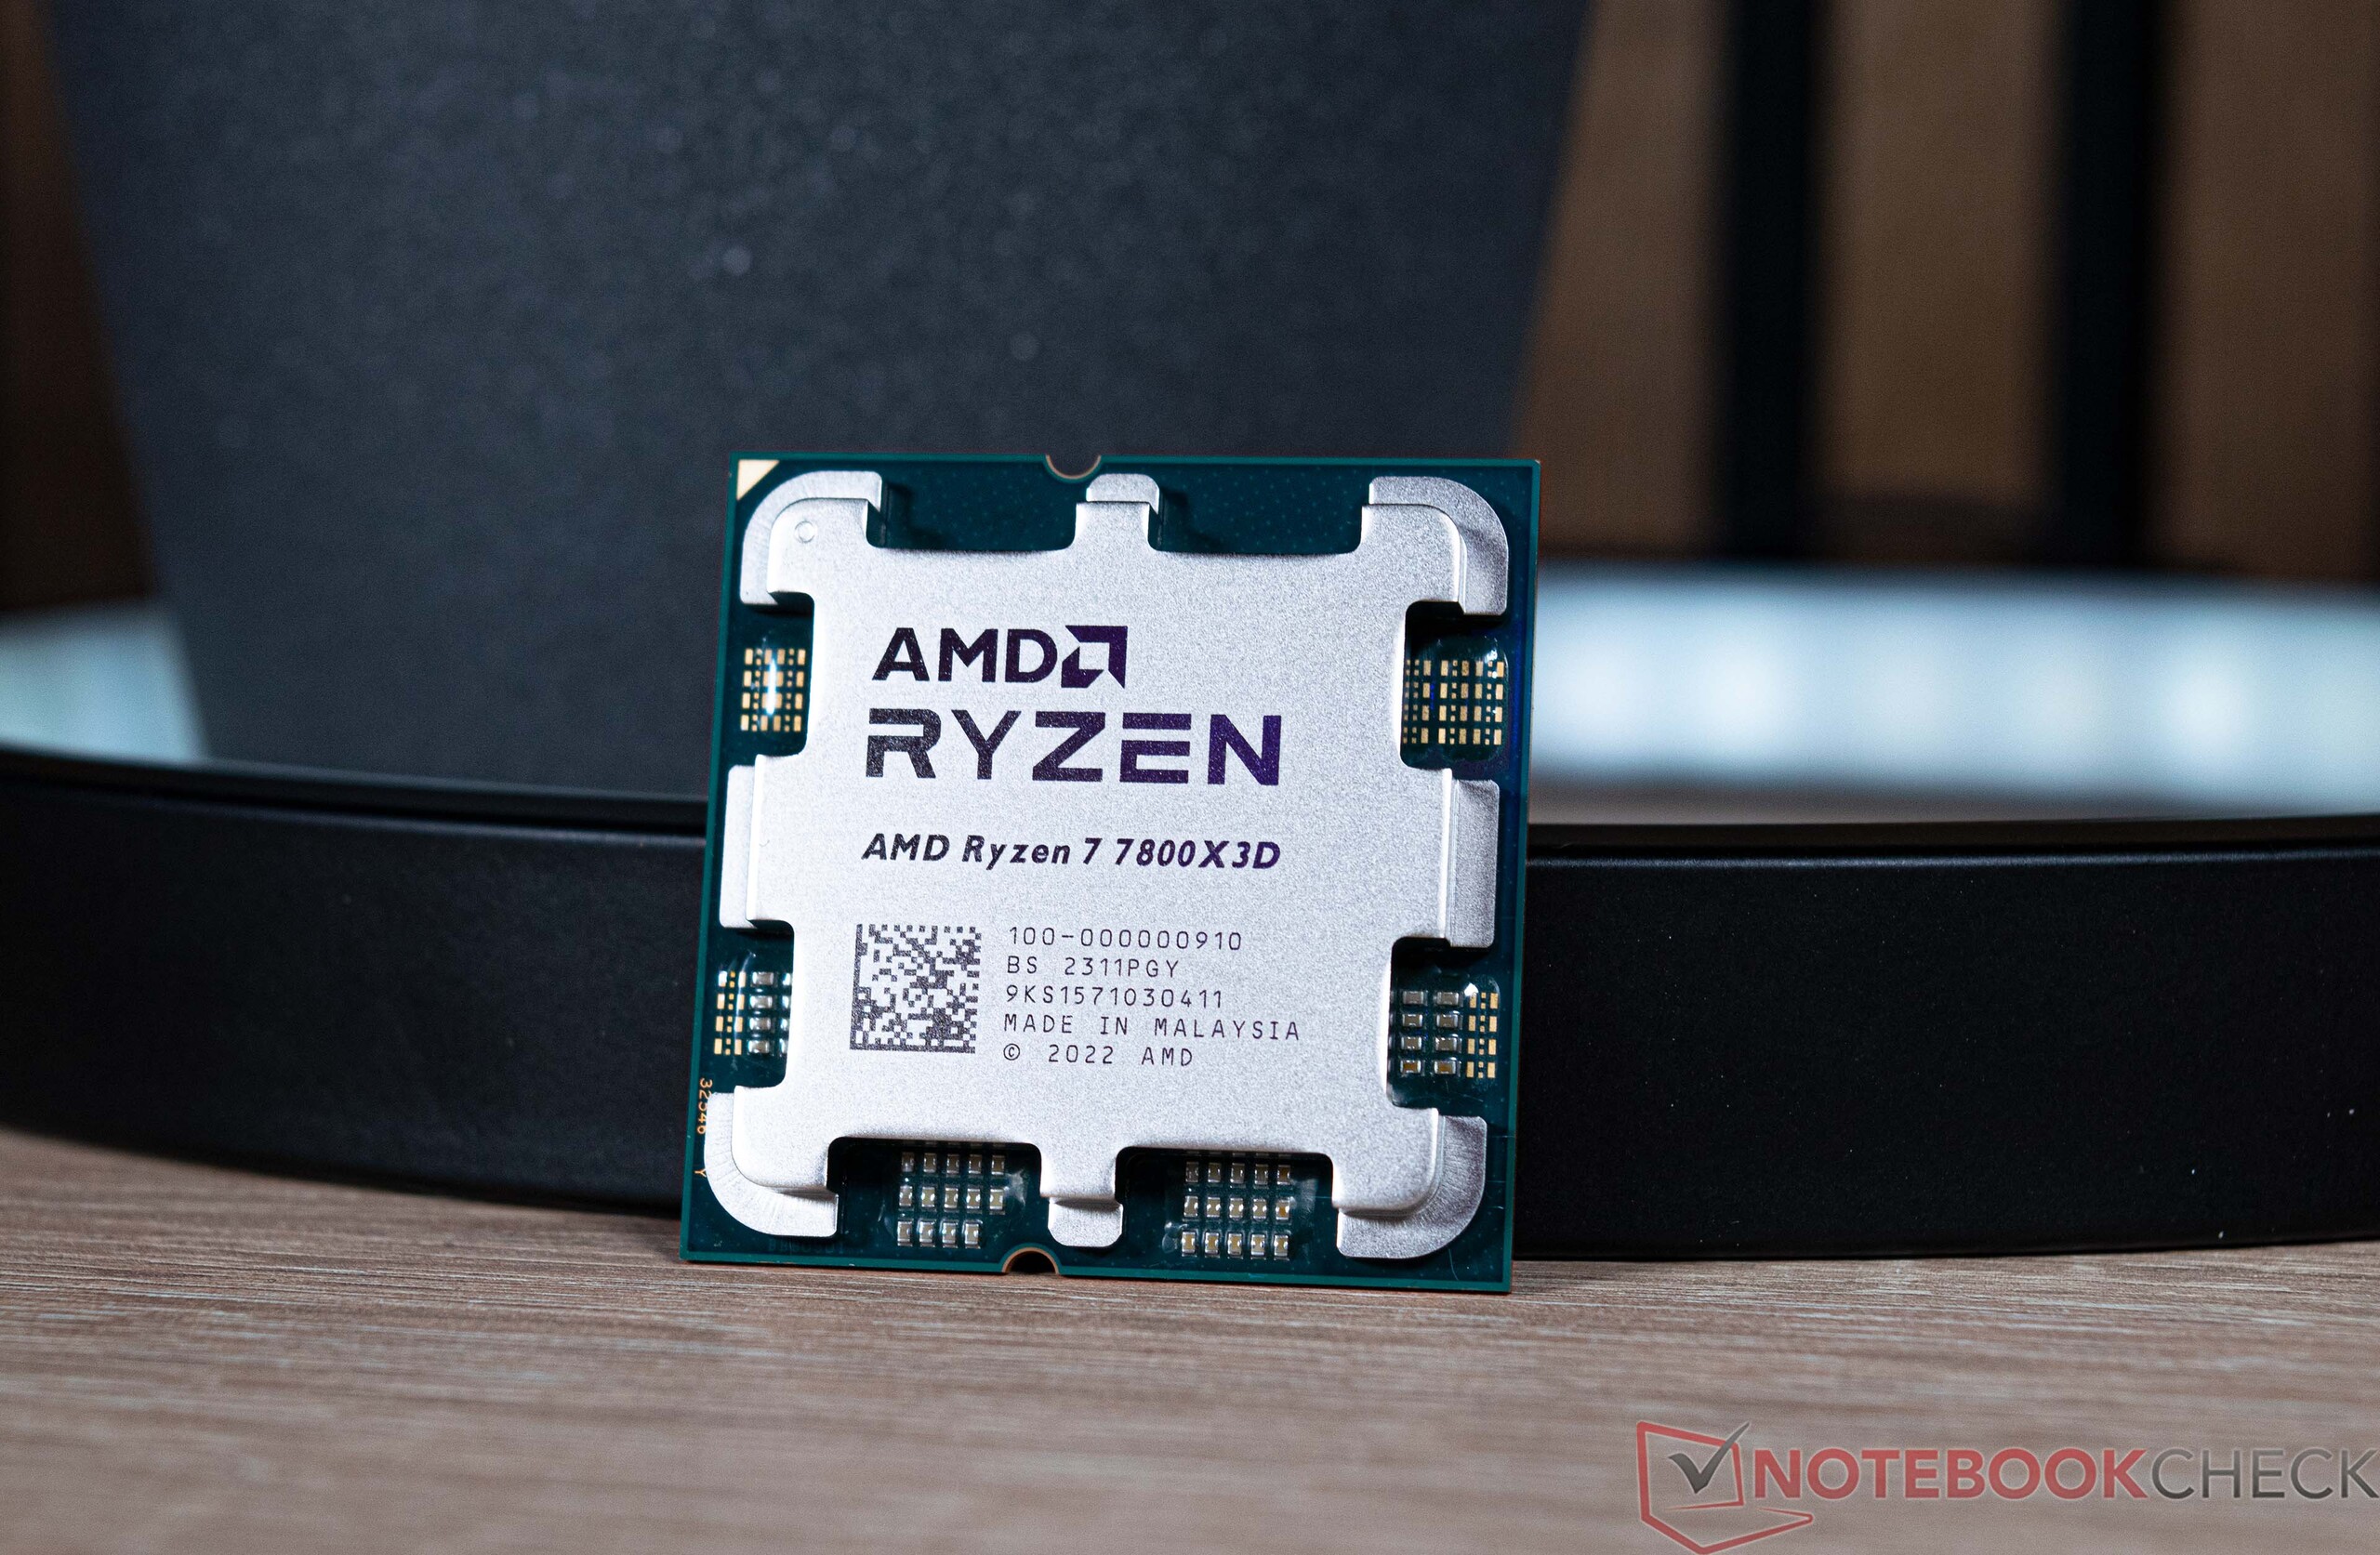
Your CPU plays a massive role in whether your storage runs at full throttle. Modern processors have a finite number of PCIe lanes split between the top graphics card slot and the M.2 NVMe slots. On many AM5 and LGA1700 platforms, populating the primary M.2 slot directly connected to the CPU leaves full speed intact. However, dropping that same drive into a chipset-controlled slot might route data through a narrower PCIe 4.0 or 3.0 bottleneck.
Always consult your motherboard manual to find the exact M.2 slot wired directly to the CPU lanes rather than the chipset bridge.
Thermal Grizzly M.2 SSD Heatsink

Passive cooling simply is not optional for PCIe 5.0 storage. If your motherboard came with a flimsy metal flap covering the M.2 slot, your drive will likely throttle under a sustained file transfer within sixty seconds. Upgrading to a dedicated tower heatsink or an active fan-cooled solution keeps controller temperatures well below the throttling threshold.
Drop your temps below 65°C, and your benchmark numbers will instantly jump back up to advertised speeds.
How to Diagnose and Fix PCIe 5.0 SSD Speed Drops
What You Need Before Starting: Phillips #1 screwdriver, motherboard manual PDF, CrystalDiskMark software, and a quality M.2 heatsink.
- Step 1: Check Current Speeds — Download and run CrystalDiskMark. Select your drive and run a standard test to confirm whether you are stuck at Gen 3 or Gen 4 speeds.
- Step 2: Verify Motherboard Slot Placement — Power down your PC, unplug it, and open the chassis. Move your SSD from a chipset-linked M.2 slot into the topmost M.2 slot located directly between the CPU socket and the primary GPU slot.
- Step 3: Update UEFI/BIOS — Boot into your motherboard BIOS by tapping Delete or F2 during startup. Flash the absolute newest BIOS version available to fix known lane-allocation bugs and microcode issues.
- Step 4: Check Lane Bifurcation Settings — While in the BIOS, navigate to the Advanced or Storage Configuration tab. Ensure your M.2 configuration is set to 'Auto' or x4/x4/x4/x4 rather than split modes that siphon bandwidth to other expansion cards.
- Step 5: Install Proper Cooling — Mount a heavy-duty heatsink with fresh thermal pads onto both sides of your SSD, ensuring firm contact with the controller chip before reassembling your system.
Troubleshooting: What If Something Goes Wrong?
PROBLEM 1: My GPU speed dropped to x8 after installing my PCIe 5.0 SSD.
THE FIX: Your motherboard shares PCIe lanes between the top PCIe x16 graphics slot and your M.2 slots. Move the SSD to a secondary M.2 slot that draws lanes from the chipset, or accept the minor GPU bandwidth reduction.
PROBLEM 2: The drive disappears entirely from Windows after a few minutes of heavy copying.
THE FIX: This is severe thermal shutdown protection. Turn off the PC immediately, let it cool down, and install a larger aftermarket heatsink or active fan cooler before testing again.
PROBLEM 3: CrystalDiskMark still shows low speeds even though the drive is in the correct slot.
THE FIX: Check if Intel VMD or RAID mode is enabled in your BIOS. Switch your SATA/NVMe mode from RAID to AHCI (note: this may require a safe Windows registry adjustment to prevent boot loops).
Original step-by-step tech guide & analysis by KejaniTech. Tried this guide or ran into a question? Drop a comment below!


Comments
Post a Comment