Why Moving Your Data to a DIY TrueNAS Scale Server Beats Cloud Storage
Stop renting your digital life and build an energy-efficient local home NAS using recycled hardware.

Big tech companies love telling you that renting cloud storage is convenient. What they omit is the recurring subscription cost, privacy trade-offs, and the sheer terror of finding out your account got locked because an automated filter flagged a family photo. Building your own local network-attached storage server gives you absolute ownership of your data without paying a monthly ransom.
We are going to walk through how to set up a dedicated storage box running TrueNAS Scale on modest hardware, configure redundant pools, and reclaim your digital independence once and for all.
TrueNAS Scale Software Architecture
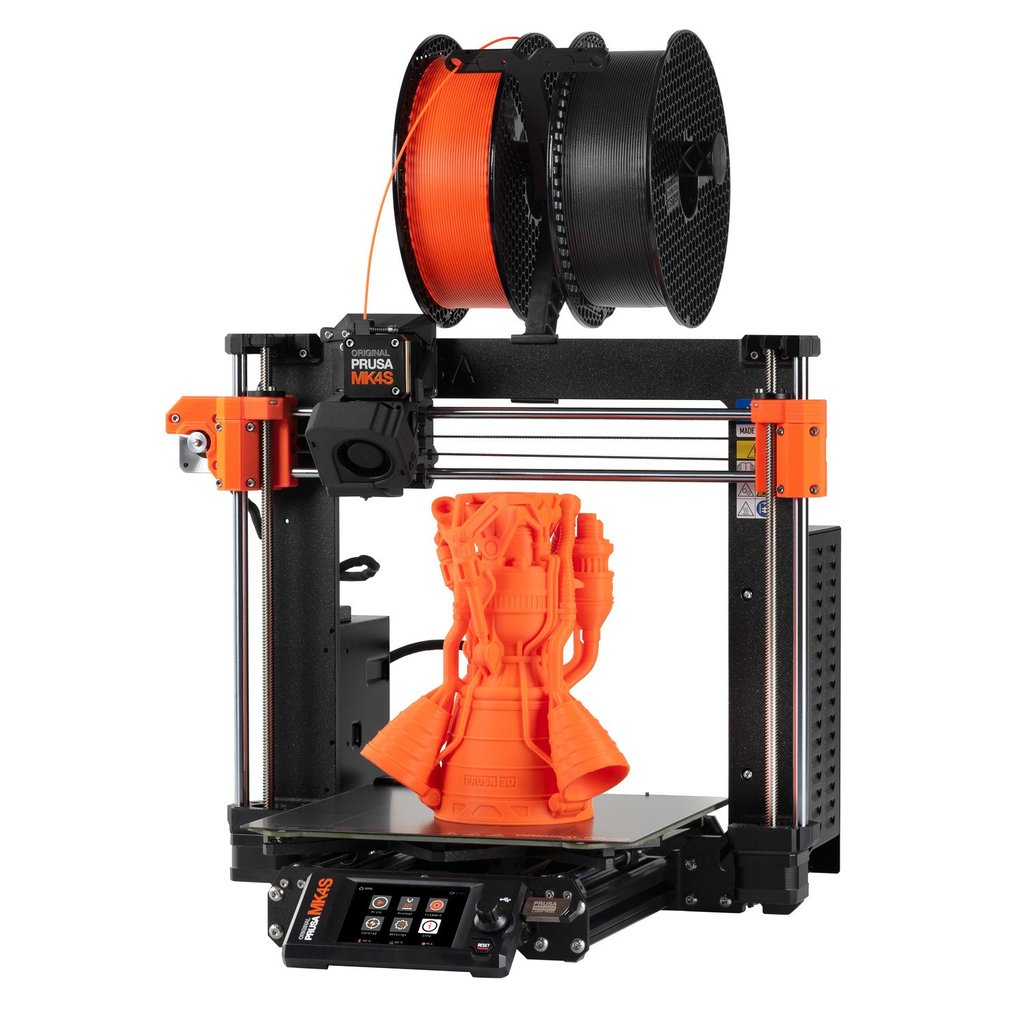
TrueNAS Scale combines the bulletproof OpenZFS file system with a Debian Linux base, container support via Kubernetes and Docker, and simple SMB and NFS file sharing. Unlike proprietary NAS operating systems, ZFS protects your files against silent data corruption through automated checksumming and self-healing arrays.
You do not need a beastly multi-thousand-dollar server to run it. An old office desktop or a decommissioned Ryzen-based PC with at least 16GB of ECC or non-ECC RAM makes a phenomenal foundation for your home storage hub.
Western Digital Red Plus Hard Drives
Hard drive selection makes or breaks your home storage build. Avoid standard desktop SMR drives, which tank in write performance during large file transfers or resilvering tasks. Stick with CMR drives like Western Digital Red Plus or Seagate IronWolf models rated for multi-bay NAS enclosures.
Plan for a RAIDZ1 or mirror configuration depending on your drive count. A mirror setup offers faster rebuild times and simpler expansion, while RAIDZ1 gives you better usable storage capacity at the cost of slower write parity calculations.
Corsair RM550x Power Supply Unit
A server that runs 24 hours a day demands a reliable, high-efficiency power supply unit. Cheap, unrated power supplies can drop voltage rails under load, corrupting your ZFS storage pools during a power fluctuation.
Look for an 80 PLUS Gold certified power supply with clean power delivery and zero-rpm fan modes to keep your home server whisper quiet while spinning up multiple hard drives.
How to Build and Configure Your TrueNAS Scale Server
What You Need Before Starting: Old PC or custom server build, at least two matching hard drives, 16GB RAM, USB flash drive, and an ethernet cable.
- Step 1: Download the official TrueNAS Scale installer ISO image from the TrueSight website and flash it onto a blank USB drive using Rufus or Ventoy.
- Step 2: Plug the USB drive into your server hardware, enter the BIOS, ensure AHCI mode is enabled for your SATA controller, and boot from the USB installer.
- Step 3: Follow the on-screen installer prompts to install TrueNAS Scale onto your smallest boot drive or SSD, setting a secure admin password.
- Step 4: Once the server boots, point your desktop web browser to the IP address displayed on the server console and log in as the root user.
- Step 5: Navigate to Storage > Pools > Create Pool, select your data hard drives, choose your layout (Mirror or RAIDZ1), and create your primary dataset.
Troubleshooting: What If Something Goes Wrong?
PROBLEM 1: TrueNAS Scale installer fails to detect your internal hard drives.
THE FIX: Reboot into your motherboard BIOS and check if the SATA controller is set to RAID or Intel RST mode. Switch it strictly to AHCI mode, save changes, and restart the installer.
PROBLEM 2: Windows computers on your local network cannot see or map the SMB file share.
THE FIX: Ensure SMBv1 is disabled and your network profile in Windows is set to Private. In TrueNAS, make sure you created a local user account matching your Windows login credentials and assigned read/write ACL permissions to the dataset.
PROBLEM 3: Your hard drives never spin down, causing excessive heat and power consumption.
THE FIX: Check your TrueNAS Advanced Settings for hard disk standby timeouts and ensure no background monitoring services or apps are constantly polling the storage pool.
Original step-by-step tech guide & analysis by KejaniTech. Tried this guide or ran into a question? Drop a comment below!


Comments
Post a Comment