Turn Any Old Mechanical Keyboard Into a Wireless Macro Pad
Solder a cheap Bluetooth microcontroller into your mothballed wired board for a custom wireless macro setup.
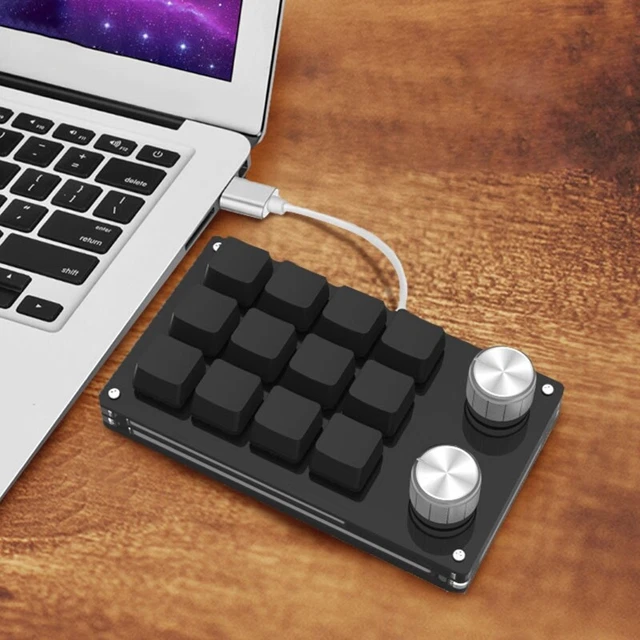
We all have that one heavy mechanical keyboard sitting in a closet, collecting dust because it lacks Bluetooth or uses a broken USB port. Instead of sending it to an e-waste recycler, you can gut its brains and wire in a modern, low-power microcontroller to build a dedicated wireless macro deck.
Today, we are stripping down an old wired mechanical board, bypassing the dead controller, and hooking up a microcontroller running custom firmware to map complex key combinations, shortcut macros, and media controls right to your desk.
Raspberry Pi Pico W Microcontroller

At the heart of this retrofit is the Raspberry Pi Pico W. While it lacks built-in battery management out of the box, its RP2040 chip paired with an Infineon CYW43439 wireless module makes it a powerhouse for custom input devices. It supports Bluetooth HID natively through custom CircuitPython or KMK firmware builds.
You will be wiring the row and column matrix of your old keyboard directly to the GPIO pins of the Pico. Because the Pico runs on 3.3V logic, it integrates cleanly with standard mechanical switch matrices without needing level shifters or complex signal conversion layers.
Adafruit LiPoly FeatherWing Power Module

A wireless macro pad is useless if it still requires a tether to your PC for power. By pairing a small 3.7V lithium polymer battery with a dedicated charging and boost circuit, you can keep the board running for weeks on a single charge.
We use a TP4056 charging module or an equivalent compact LiPo management board. It handles safe USB-C charging while stepping up the battery output to a stable 5V rail for any indicator LEDs or background circuitry your salvaged keyboard chassis might still retain.
KMK Firmware for Mechanical Keyboards
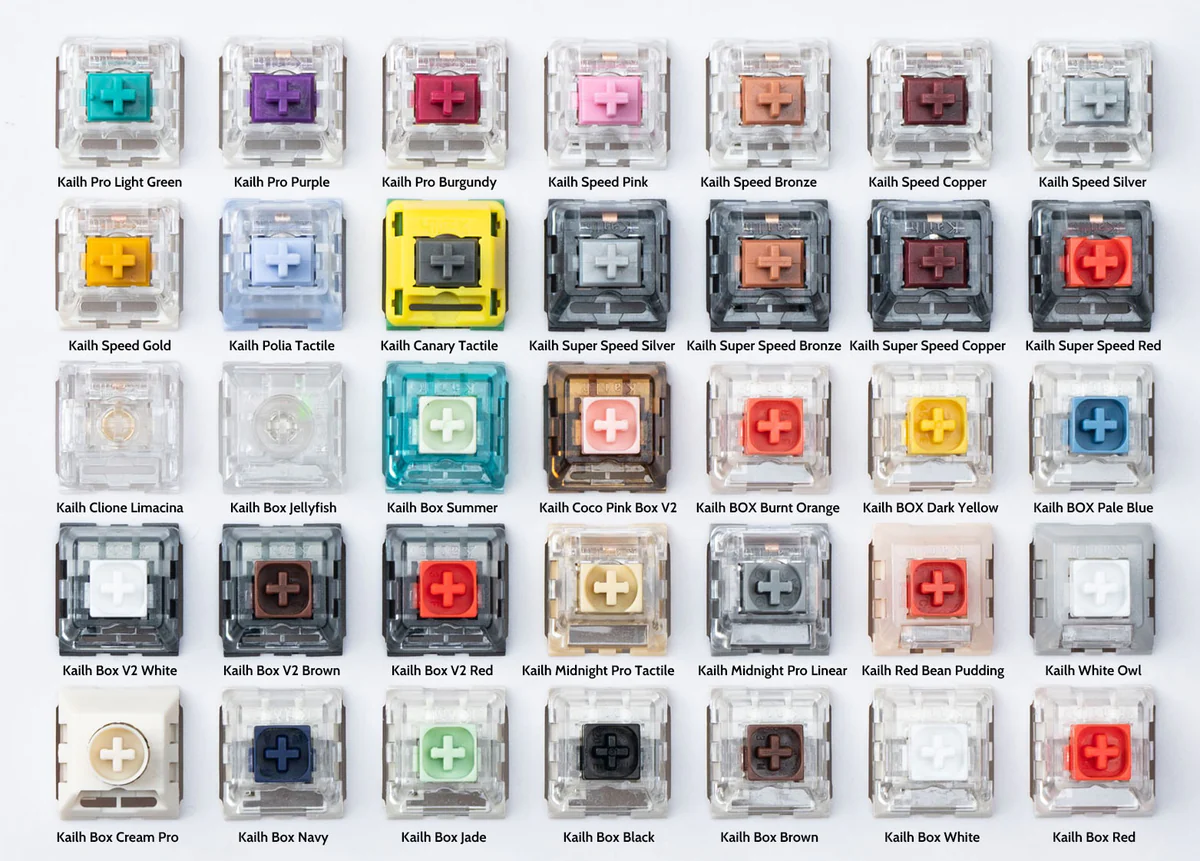
Forget struggling with complex C-based QMK environments if you want a fast setup. KMK Firmware runs directly on CircuitPython, meaning you edit a simple Python script on a USB flash drive to change your key mappings, layers, and tap-dance shortcuts.
You simply define your row and column pins in a main.py file, map your custom strings or multimedia keys, and save. The board reloads instantly, letting you test your new macros without a grueling compile-and-flash cycle.
How to Convert a Wired Keyboard Into a Wireless Macro Pad
What You Need Before Starting: Old wired mechanical keyboard, Raspberry Pi Pico W, 3.7V LiPo battery (1200mAh+), soldering iron, 30AWG wire, and a USB-C breakout board.
- Step 1: Strip the keyboard chassis — Disassemble your old keyboard, remove the original circuit board entirely, and keep only the plastic housing, switch plate, and mechanical switches.
- Step 2: Map the matrix — Trace the row and column traces on the switch plate or solder jumper wires directly to the pins of each mechanical switch to form a clean diode-protected matrix.
- Step 3: Solder to the Pico W — Connect your keyboard matrix rows and columns to designated GPIO pins on the Raspberry Pi Pico W, making sure to note every pin number for your firmware configuration.
- Step 4: Install CircuitPython and KMK — Flash the latest CircuitPython UF2 file onto your Pico W, then copy the KMK firmware files and a custom main.py script onto the drive.
- Step 5: Test and wire power — Connect your LiPo battery through a charging module to the VSYS and GND pins of the Pico W, pair the Bluetooth HID device to your computer, and test your new wireless macros.
Troubleshooting: What If Something Goes Wrong?
PROBLEM 1: Ghost key presses or unregistered keystrokes when typing quickly.
THE FIX: Ensure you have physical diodes soldered in series with every single mechanical switch. Without diodes, pressing multiple keys simultaneously creates electrical feedback loops known as ghosting.
PROBLEM 2: The Pico W does not appear as a Bluetooth device on your PC.
THE FIX: Verify that your KMK main.py script explicitly initializes the Bluetooth HID module and that your CircuitPython build matches the exact version required by your KMK branch.
PROBLEM 3: The battery drains completely within a few hours of standby.
THE FIX: Check for short circuits on your power rail and ensure your code includes deep sleep or low-power polling states when the macro pad is idle for more than five minutes.
Original step-by-step tech guide & analysis by KejaniTech. Tried this guide or ran into a question? Drop a comment below!


Comments
Post a Comment