Run Powerful AI Models Privately on Your Laptop Offline
Keep your documents and code off the cloud by running Llama and DeepSeek locally using Ollama and Open WebUI.
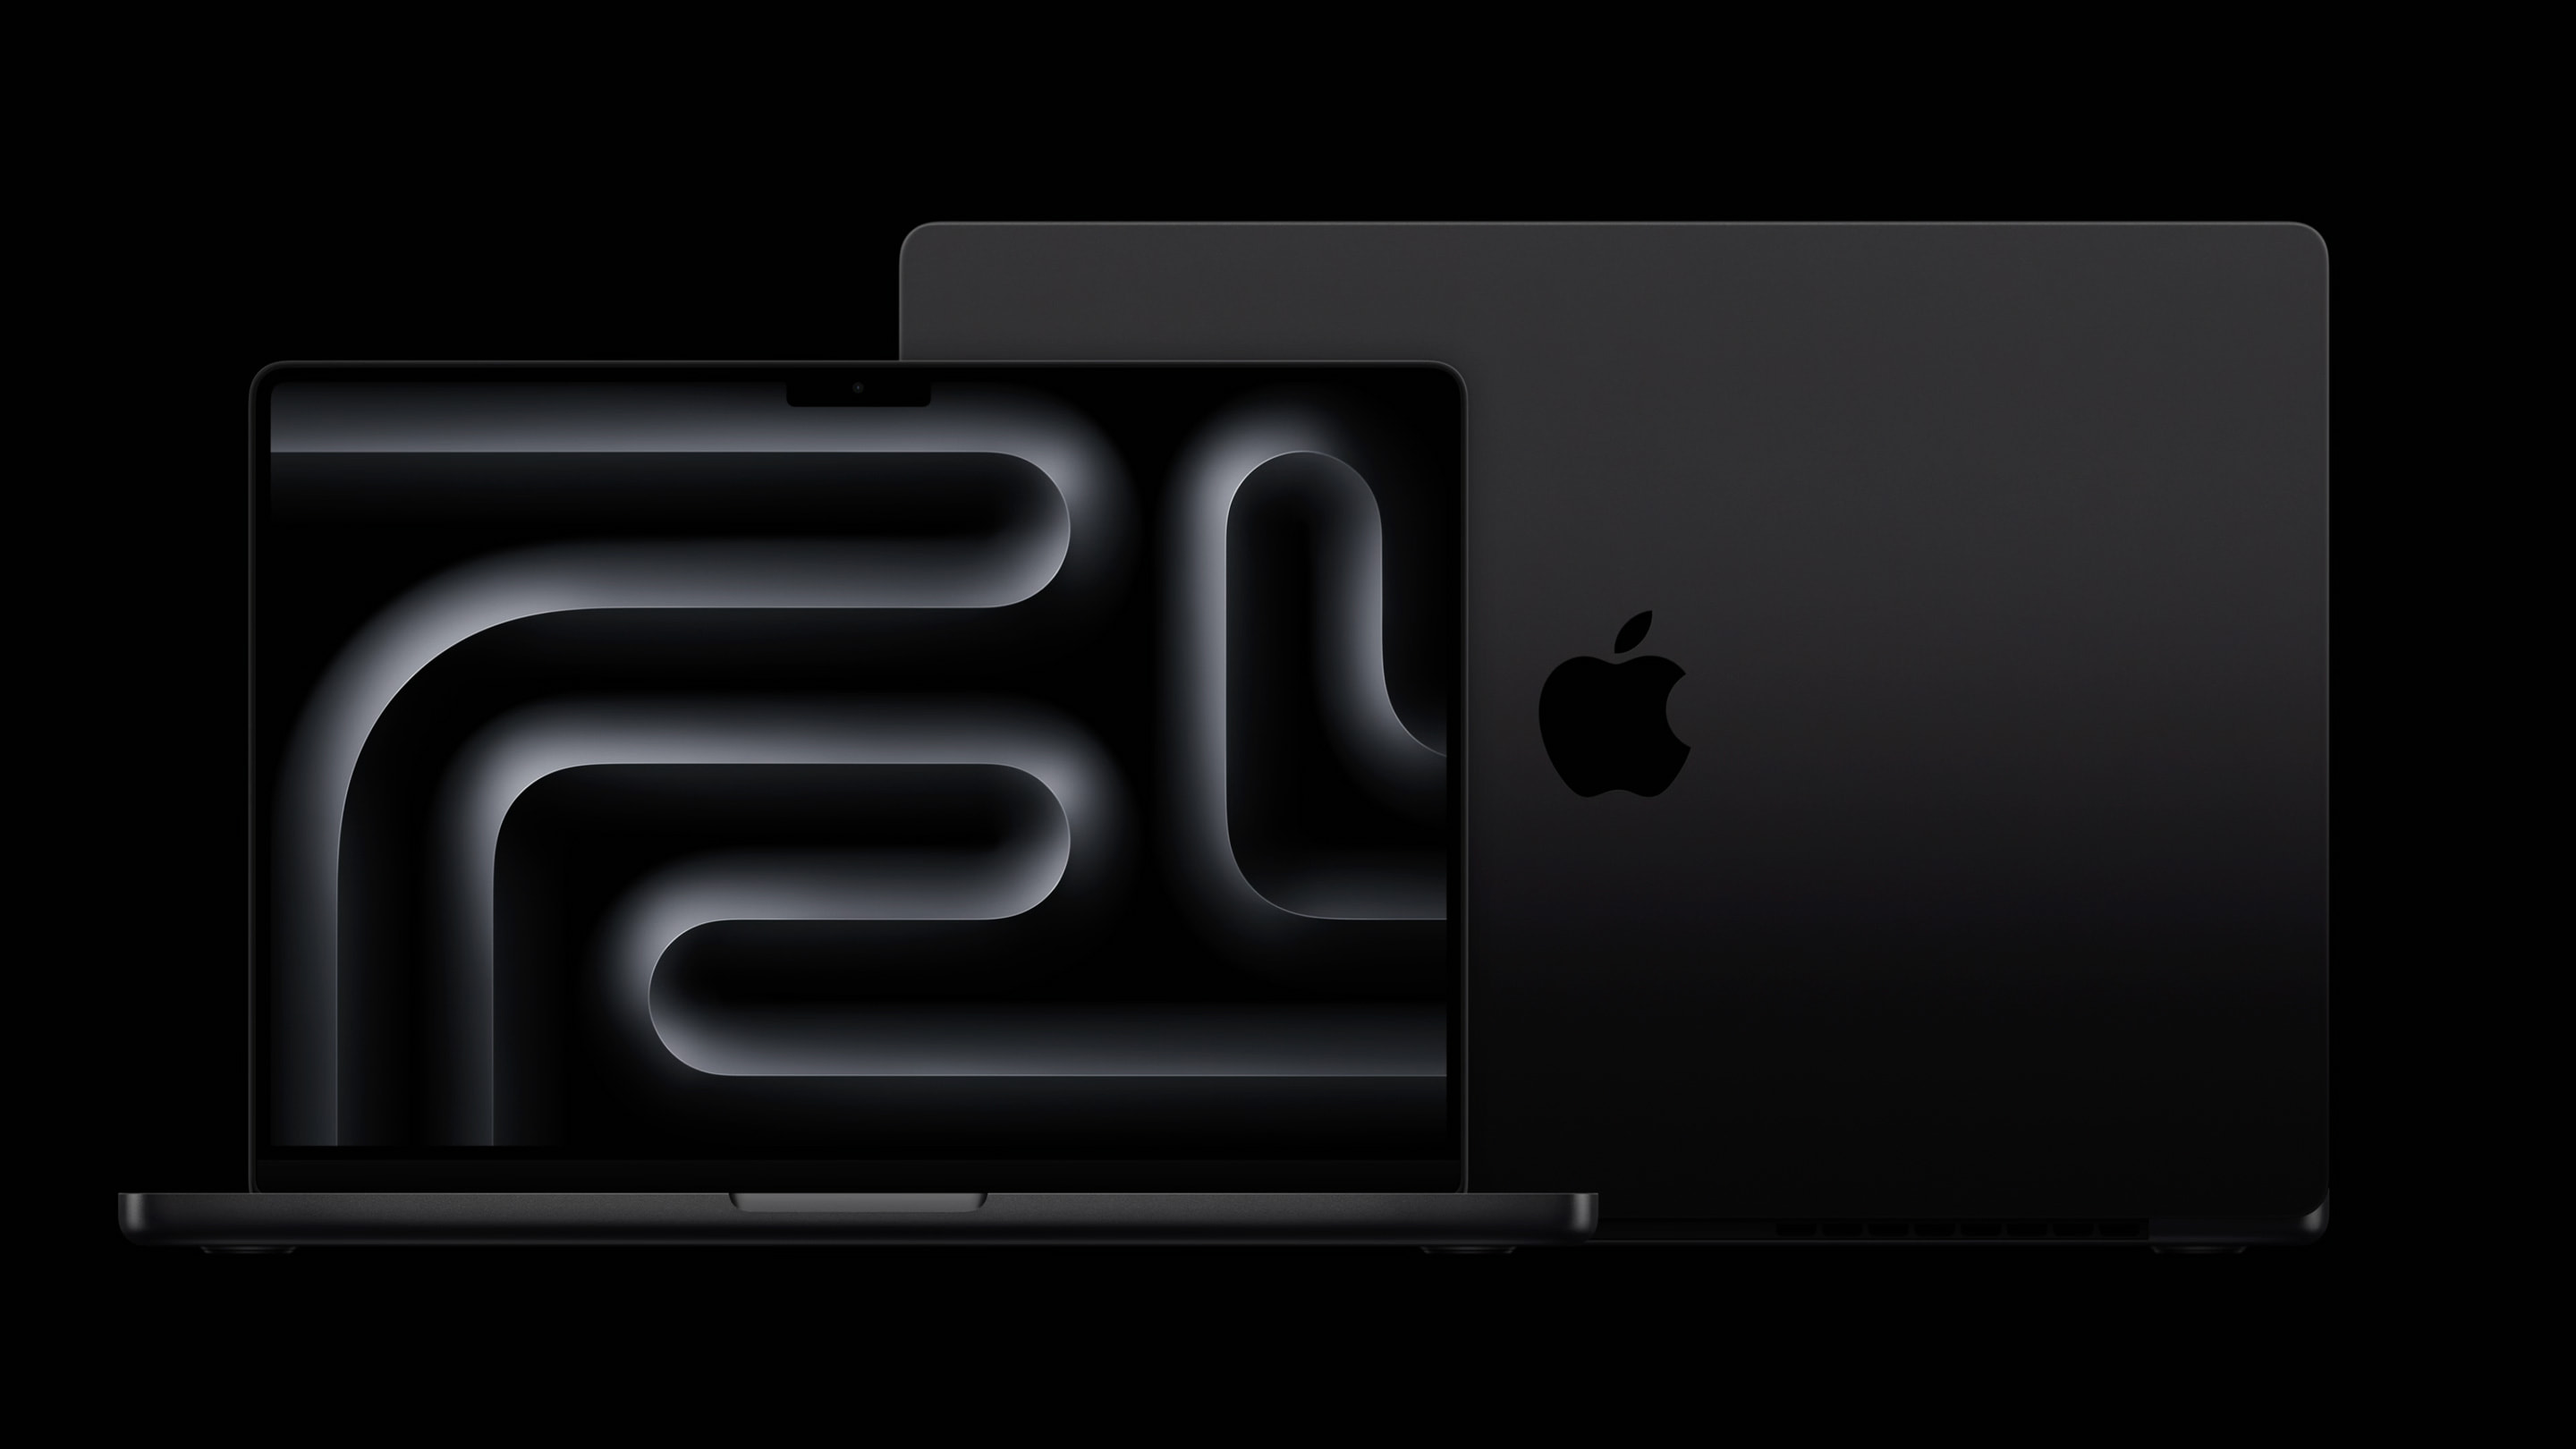
Sending your proprietary code snippets, financial notes, or personal diary entries to remote cloud servers every time you want an AI summary is a privacy nightmare waiting to happen. The good news is that consumer laptops have gotten fast enough to run state-of-the-art open weights models locally in absolute silence.
We are going to walk through setting up Ollama as your local model runtime paired with Open WebUI for a sleek, ChatGPT-style interface that runs entirely offline.
Ollama CLI Runtime

Ollama acts as the lightweight background engine that handles model loading, memory allocation, and token generation directly on your hardware. It automatically utilizes your GPU cores if you are running an Apple Silicon Mac or an NVIDIA graphics card, which is mandatory if you want usable generation speeds above 20 tokens per second.
When picking models like Llama 3 or DeepSeek-R1, match the model parameter size to your available VRAM or unified system memory. An 8B model needs roughly 6GB of free RAM to run comfortably without choking your operating system.
Open WebUI Docker Container
While Ollama works entirely inside your terminal, interacting with raw command lines gets old fast. Open WebUI is a self-hosted web interface that plugs straight into your local Ollama backend via API, giving you chat history, model switching, user management, and prompt libraries.
Running it inside Docker keeps your host machine clean and makes updates as simple as pulling a new container tag. It also unlocks Retrieval-Augmented Generation, meaning you can drop a 200-page PDF into the chat and ask questions about it offline.
Apple MacBook Pro M3 Max
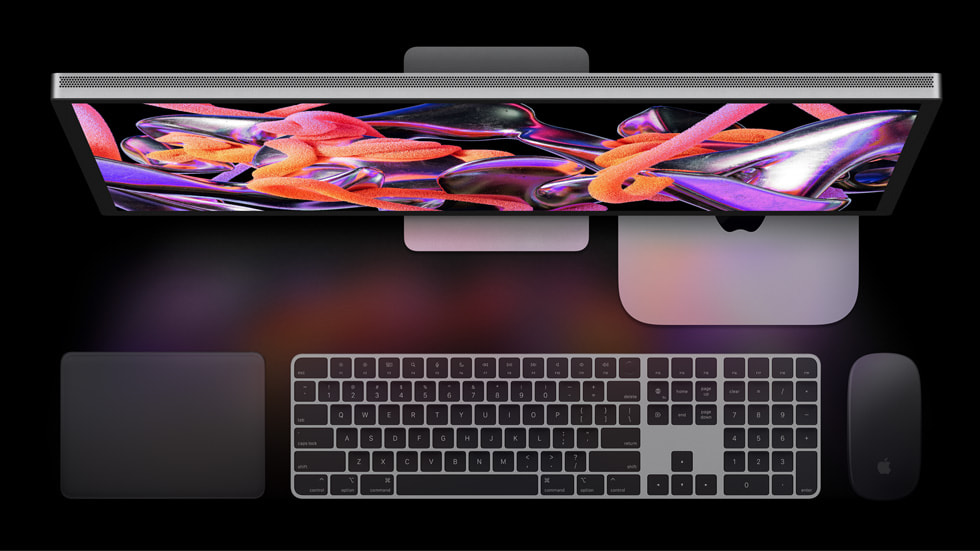
If you are shopping for a dedicated local AI machine, high-memory Apple Silicon laptops like the MacBook Pro with unified memory are tough to beat. Because the CPU and GPU share the same memory pool, you can load much larger models than what would fit on a typical desktop graphics card with 12GB or 16GB of VRAM.
Drop a comment below with your current laptop specs and let us know what models you are planning to run on your local rig.
How to Set Up Ollama and Open WebUI Step-by-Step
What You Need Before Starting: A computer with at least 16GB of RAM (or Apple Silicon), Docker Desktop installed, and 10GB of free disk space.
- Step 1: Download and install Ollama from the official website for your operating system (macOS, Windows, or Linux).
- Step 2: Open your terminal or command prompt and run your first model by typing 'ollama run llama3' to verify the installation works.
- Step 3: Ensure Docker Desktop is running on your machine, then open your terminal to deploy Open WebUI.
- Step 4: Run the Docker command 'docker run -d -p 3000:8080 --add-host=host.docker.internal:host-gateway -v open-webui:/app/backend/data --name open-webui --restart always ghcr.io/open-webui/open-webui:main'.
- Step 5: Open your web browser, navigate to 'http://localhost:3000', create your local admin account, and start chatting with your offline models.
Troubleshooting: What If Something Goes Wrong?
PROBLEM 1: Open WebUI says 'Connection Error' and cannot talk to Ollama running on the host machine.
THE FIX: Ensure you included the '--add-host=host.docker.internal:host-gateway' flag in your Docker run command, and set your Ollama base URL in Open WebUI settings to 'http://host.docker.internal:11434'.
PROBLEM 2: Model generation is painfully slow, outputting less than one token per second.
THE FIX: Your system is likely running the model entirely on the CPU because of insufficient VRAM or a missing GPU driver. Switch to a smaller model variant, such as a 1.5B or 3B parameter model quantized to 4-bit (Q4_K_M).
PROBLEM 3: Docker container fails to start because port 3000 is already occupied by another application.
THE FIX: Change the host port mapping in your Docker command from '-p 3000:8080' to '-p 8080:8080', then access your instance at 'http://localhost:8080'.
Original step-by-step tech guide & analysis by KejaniTech. Tried this guide or ran into a question? Drop a comment below!


Comments
Post a Comment