Migrating Your Homelab Without Losing Services: TrueNAS to Proxmox
How to jump ship between hypervisors and storage operating systems without breaking your entire home network.

Switching your homelab operating system usually feels like performing open-heart surgery on a unicycle. You have containers hanging off your storage pools, virtual machines running critical home automation services, and a spouse ready to riot if the Wi-Fi drops for more than three minutes.
Moving from an appliance-style storage OS like TrueNAS Core or Scale over to a raw hypervisor setup like Proxmox VE while keeping your Synology storage appliance in the mix sounds intimidating. Here is how to pull off the migration clean, zero out downtime, and keep all your services intact.
Proxmox VE Server
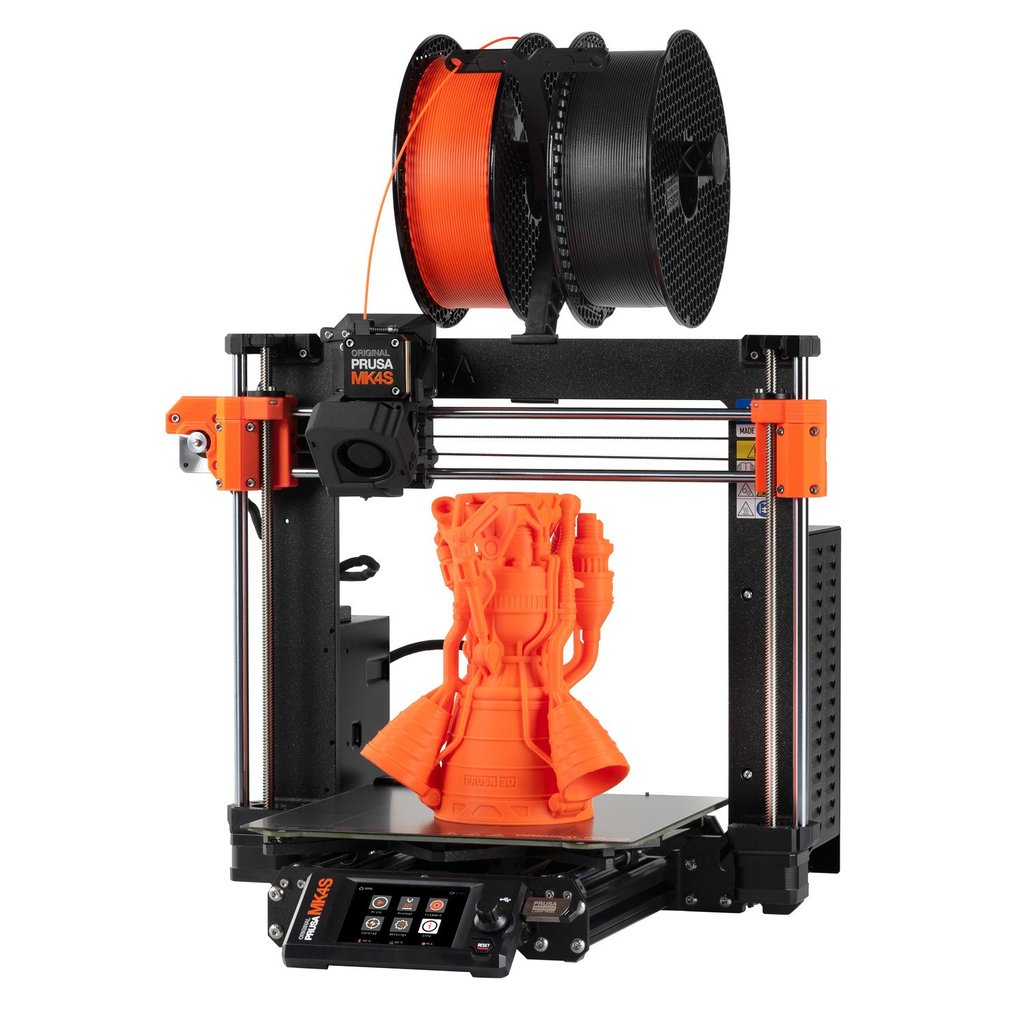
Proxmox handles virtualization through KVM and LXC containers natively, giving you absolute control over hardware resource allocation. Moving away from a monolithic operating system lets you isolate storage tasks from compute workloads.
Before touching a single live service, map out your network bridges and static IP assignments. Consistency here saves hours of terminal debugging later.
Synology NAS Appliance

Your media libraries, raw backups, and static datasets do not need to live on the hypervisor's local NVMe drives. Offloading these shares to a dedicated network-attached storage box keeps your VM disks lean and easy to snapshot.
Mounting your Synology shares inside Proxmox via NFS ensures fast, low-overhead file access across all your guest instances.
TrueNAS Storage Node
If you are pulling datasets off an older TrueNAS box, ZFS send and receive commands are your best friends. You can stream entire ZFS volumes over SSH directly to your new storage target with zero bit rot or file corruption.
Always verify your ZFS pool checksums before decommissioning the old hardware node.
How to Migrate Your Homelab Services Without Downtime
What You Need Before Starting: An existing TrueNAS/Synology setup, a freshly installed Proxmox VE node, external backup drives, and an SSH client.
- Step 1: Inventory Services — Document every single Docker container, VM, static IP address, and storage mount currently running in your environment.
- Step 2: Full Cold Backups — Take complete configuration backups and full disk snapshots of all virtual machines on your current platform.
- Step 3: Configure Proxmox Storage — Log into the Proxmox web UI, navigate to Datacenter > Storage, and add your NFS or SMB shares pointing to your Synology NAS.
- Step 4: Export and Import VMs — Export your virtual machines as raw disk images or OVA files from the old platform, then use 'qm importdisk' in the Proxmox shell to attach them to new VM shells.
- Step 5: Verify and Test — Boot up your migrated containers and VMs one by one on isolated virtual networks before updating your main router DNS pointers.
Troubleshooting: What If Something Goes Wrong?
PROBLEM 1: Imported VM fails to boot with a grub rescue or missing boot device error.
THE FIX: Check your Proxmox VM hardware settings to ensure the newly imported virtual disk is added to the VM's SCSI or VirtIO SCSI controller list, and verify that the boot order prioritizes that specific drive.
PROBLEM 2: NFS storage mounts show up with permission denied errors inside Proxmox containers.
THE FIX: SSH into your Proxmox host and ensure the NFS export on your Synology or TrueNAS box allows root access from the new Proxmox host IP address, not just standard read-only user access.
PROBLEM 3: Network bridge drops out or loses internet connectivity after configuring VLANs.
THE FIX: Access the Proxmox physical console or IPMI interface, edit the network interfaces file at /etc/network/interfaces, correct any indentation or gateway typos, and run 'ifreload -a' to restart networking safely.
Original step-by-step tech guide & analysis by KejaniTech. Tried this guide or ran into a question? Drop a comment below!


Comments
Post a Comment