Fixing Your Slow Home Network: Setting Up a 2.5GbE Switch
Upgrade your local file transfers and NAS speeds without breaking the bank using budget multi-gig hardware.

If you have recently upgraded your internet plan to a multi-gig fiber connection or bought a modern Network Attached Storage enclosure, you have likely noticed your network bottlenecking hard at the one gigabit mark. Traditional home networking gear has lingered at 1Gbps for decades, but affordable hardware has finally arrived to change that.
Upgrading your local hardware to handle multi-gigabit speeds does not require pulling new Cat6a cable through your walls or spending enterprise-tier money. Here is how to audit your bottleneck and build out a high-speed local backbone.
TP-Link TL-SG105-M2 Network Switch

The core of any budget multi-gig upgrade starts with the switch. Devices like the TP-Link TL-SG105-M2 give you five ports of 2.5GbE connectivity without requiring complex configuration or command-line interfaces. It is fully backward compatible with older 1000Mbps and 100Mbps gear, meaning your older smart TV or printer will plug right in and negotiate down automatically.
Because these switches generate very little heat and require no active cooling fans, you can tuck them behind your desk or inside a media cabinet without worrying about noise or thermal throttling during heavy file transfers.
QNAP QNA-UC5G1T USB to 2.5GbE Adapter
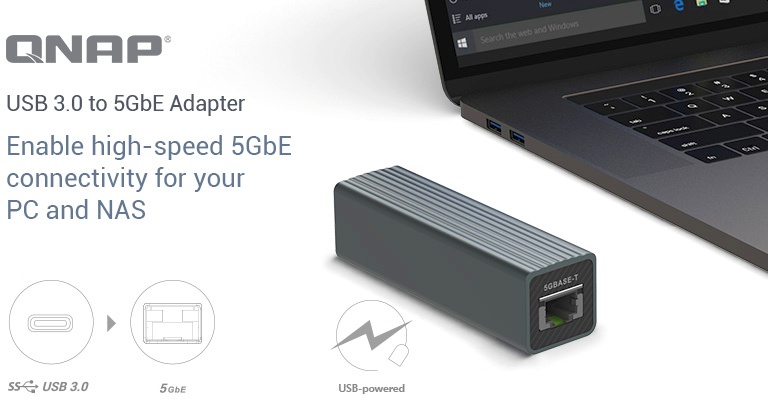
If your desktop PC or laptop lacks a built-in multi-gigabit Ethernet port, buying a USB network adapter is the fastest workaround. The QNAP QNA-UC5G1T plugs directly into a USB-C or Thunderbolt port, instantly granting you high-speed wired access without opening your computer case to install a PCIe card.
Make sure you connect these adapters to a USB 3.2 Gen 2 port rather than an older USB 2.0 port to avoid bandwidth caps that defeat the entire purpose of the hardware upgrade.
Understanding Cable Standards: Cat5e vs Cat6
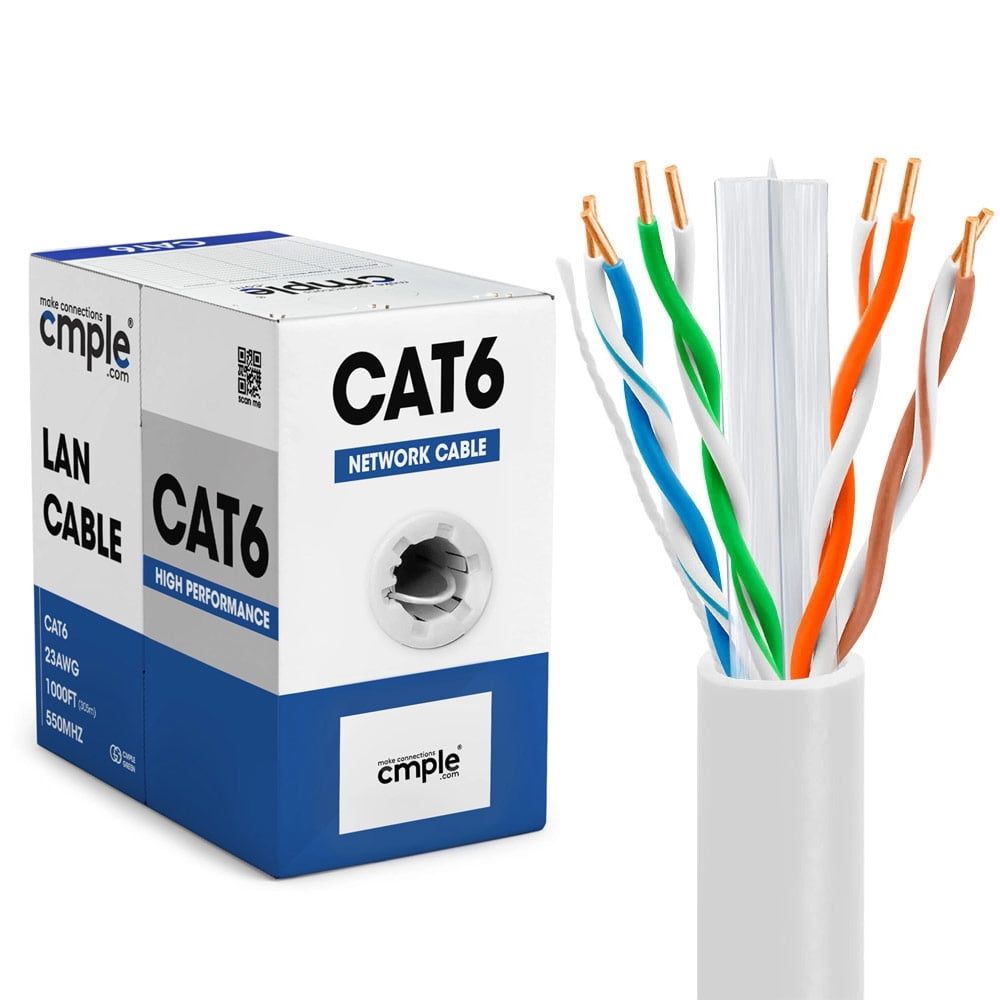


One of the biggest misconceptions in home networking is that you need to completely rewire your house to hit 2.5Gbps speeds. Standard Cat5e cable, which is already installed in millions of homes, is fully capable of running 2.5GbE over typical residential distances up to 100 meters.
If you are buying patch cables to connect your switch to your router or NAS, pick up certified Cat6 or Cat6a cables to ensure proper shielding against electromagnetic interference from power strips and wall adapters.
How to Install and Configure a 2.5GbE Home Switch
What You Need Before Starting: TP-Link TL-SG105-M2 switch, Cat6 patch cables, a multi-gig capable NAS or PC, and power outlet.
- Step 1: Unplug your main router and existing network switch from wall power before shuffling any cables around.
- Step 2: Connect an Ethernet cable from a LAN port on your primary internet router directly into Port 1 on your new 2.5GbE switch.
- Step 3: Plug your multi-gig NAS, desktop PC, and other high-bandwidth devices into the remaining ports on the switch using Cat6 cables.
- Step 4: Plug the power adapter into your 2.5GbE switch and switch on your router, allowing all devices to boot up and establish fresh DHCP leases.
- Step 5: Verify your connection speed in Windows by opening Settings > Network & Internet > Ethernet and checking that the Link Speed reads 2500/2500 (Mbps).
Troubleshooting: What If Something Goes Wrong?
PROBLEM 1: My computer is still showing a link speed of 1000Mbps instead of 2500Mbps.
THE FIX: Open your network adapter properties in Device Manager, click Advanced, look for Speed & Duplex, and ensure it is set to Auto Negotiation or explicitly set to 2.5Gbps Full Duplex.
PROBLEM 2: My network drops connection randomly after installing the new switch.
THE FIX: Check your Ethernet cables. A damaged or poorly crimped pin inside an old Cat5 cable can cause negotiation failures. Swap the patch cable with a known-good Cat6 cable.
PROBLEM 3: My NAS cannot reach the internet through the switch.
THE FIX: Ensure your main router is plugged into the switch and that you are not creating an accidental switching loop by connecting two cables between the router and the same switch.
Original step-by-step tech guide & analysis by KejaniTech. Tried this guide or ran into a question? Drop a comment below!


Comments
Post a Comment