Inside Akai's New MPC Sample Key and Why Open-Source Modding Matters
Akai is taking its iconic sampler workflow into pitched keyboard territory and letting hackers tear the software apart.

When a major hardware manufacturer announces they are not just building a new instrument, but actively inviting the modding community to rip the operating system apart, music producers pay attention. Akai just teased its upcoming MPC Sample Key on social media, sparking immediate excitement across home studios and professional rigs alike.
While the device trades the classic drum chopping button for dedicated pitched sample playback, the real headline is the company's pledge to open-source the underlying software. We got our hands on exclusive details regarding the hardware layout, and it looks like a major shift for anyone who likes hacking their gear beyond factory limits.
Akai MPC Sample Key Hardware Layout
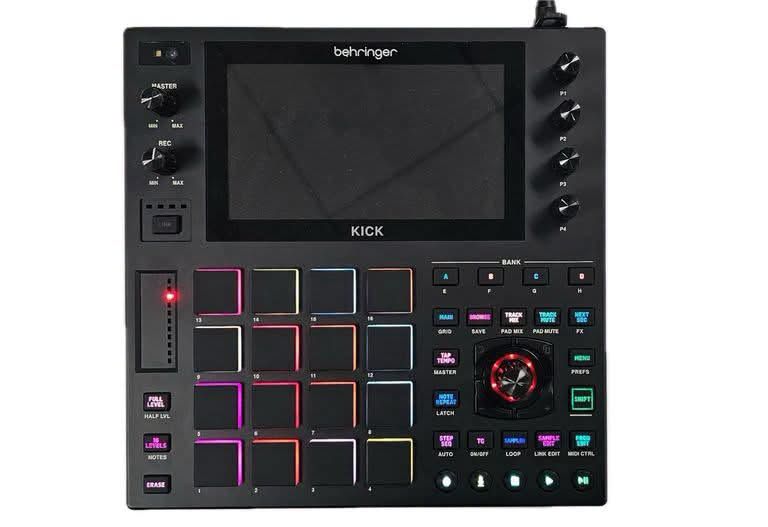
The hardware borrows heavily from its siblings in the MPC family while carving out a distinct identity for melodic creators. You still get the familiar trio of context-sensitive encoders alongside the large main navigation encoder, but the physical footprint is stretched to accommodate a multi-octave keybed.
Instead of chopping breaks on sixteen pads, this instrument targets fluid, pitched sample playback across keys. It bridges the gap between traditional workstation keyboards and modern standalone production units.
Akai MPC Sample
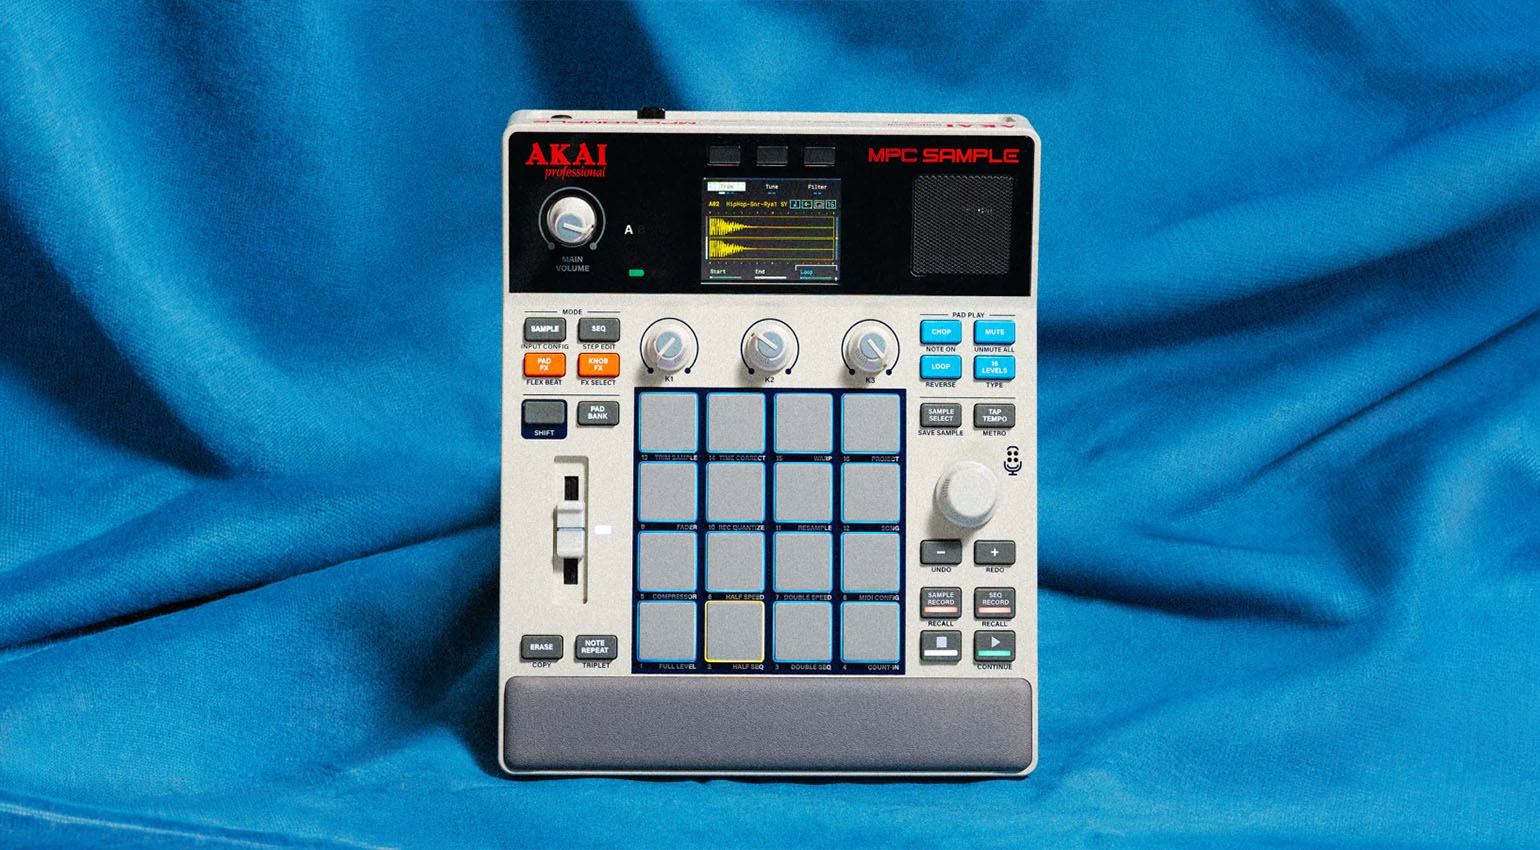
Comparing the new Sample Key to the standard desktop MPC Sample reveals interesting design choices. The smaller desktop unit features the classic 'chop' button designed specifically for slicing breakbeats and one-shots across sixteen velocity-sensitive pads.
The Sample Key intentionally drops that specific workflow in favor of chromatic expression. If you want to play a vocal chop across two full octaves of keys with pitch bend and modulation, this is the machine built for the job.
Open-Source Software and Community Modding

Hardware lock-in has frustrated musicians for decades, which makes Akai's open-source software pledge so refreshing. By opening the code base, they are inviting developers to write custom scripts, build alternative user interfaces, and port community plugins directly onto the hardware.
This means your standalone keyboard won't become an obsolete brick when the manufacturer stops pushing updates. The community can step in, patch bugs, and add experimental features that corporate product managers would never greenlight.
How to Prepare Your Studio and Workflow for Standalone Keyboards
What You Need Before Starting: An audio interface, active studio monitors or headphones, a USB-C cable, and a computer with a DAW installed.
- Step 1: Update your DAW and MIDI controller drivers to the latest stable versions to prevent sync latency.
- Step 2: Connect your audio interface to your computer using a certified USB or Thunderbolt cable, then plug in your studio monitors.
- Step 3: Route your external hardware audio outputs into dedicated inputs on your interface and set your buffer size to 128 samples or lower.
- Step 4: Map your MIDI channels in your software settings to ensure separate tracks can receive notes and automation data simultaneously.
- Step 5: Test the audio path by playing a simple MIDI sequence from your computer into the hardware and recording the audio return back into your timeline.
Troubleshooting: What If Something Goes Wrong?
PROBLEM 1: Audio is clipping or distorting when playing samples at high velocity.
THE FIX: Lower the master volume on the hardware unit and reduce the track gain staging inside your software mixer until input meters stay safely below minus six decibels.
PROBLEM 2: MIDI notes are triggering delayed or stuttering sounds.
THE FIX: Check your USB hub connection and plug the device directly into a native motherboard port. Avoid using unpowered USB splitters for real-time audio gear.
PROBLEM 3: Custom firmware or community scripts fail to compile after downloading from GitHub.
THE FIX: Verify that your local build environment matches the exact compiler version specified in the repository's readme documentation, and install all required dependency packages.
Original step-by-step tech guide & analysis by KejaniTech. Tried this guide or ran into a question? Drop a comment below!


Comments
Post a Comment